How to Build a Retaining Wall on a Slope
A slope changes everything about a retaining wall. On flat ground, a wall holds back a tidy strip of soil and looks good doing it. On a grade, the same wall is carrying real load — thousands of pounds of earth pushing downhill, plus every gallon of water that drains through it. Learning how to build a retaining wall on a slope correctly is the difference between a wall that stands for decades and one that leans, cracks, or tips over after two hard winters.
The process is not complicated, just methodical. Most of the work is excavation, drainage, and leveling — not heavy masonry skill. A homeowner who can run a shovel, a level, and a dead-blow hammer can build a solid segmental-block wall up to about three feet high. Beyond that, or on a steep grade, you may want a second set of hands or a call to a pro.
This guide walks through the whole job: choosing the material, digging and leveling the base, stacking and securing the courses, and installing drainage that actually works. It also covers what a sloped wall costs and the mistakes that send most DIY walls to an early grave.
Why Building on a Slope Is Different
A wall on flat ground holds back soil that is mostly sitting still. A wall on a slope holds back soil that is actively trying to move. Gravity never stops, and water lubricates the system, turning compacted soil into something closer to slurry. That is why sloped walls fail at a higher rate than flat ones — not because the blocks are weak, but because the builder treated the job like a flat-ground project.
Three forces work against any sloped wall:
- Lateral earth pressure — the horizontal push of the retained soil, which grows with wall height and the steepness of the slope behind it.
- Hydrostatic pressure — the force of water trapped behind the wall. Saturated soil pushes far harder than dry soil.
- Surcharge load — anything above the wall that adds weight, such as a driveway, shed, patio, or the slope continuing uphill.
On a steep lot, the retaining wall is not decoration. It is a structural element. Treat it like one from the first shovel of dirt.
Choose the Right Wall Material for a Sloped Site
Material choice drives cost, lifespan, and how much of the job you can realistically do yourself. For most residential slopes, segmental concrete blocks are the sweet spot of strength, price, and DIY accessibility.
| Feature | Segmental Block | Pressure-Treated Timber | Natural Stone | Poured Concrete |
|---|---|---|---|---|
| Typical cost (installed, per sq ft) | $15–$30 | $15–$25 | $30–$80 | $40–$75 |
| DIY difficulty | Moderate | Easy | Hard | Hard |
| Lifespan | 50+ years | 10–20 years | 50+ years | 50+ years |
| Best for slopes | Any height up to ~4 ft DIY | Short walls, gentle grades | High-end, steep lots | Tall or curved walls |
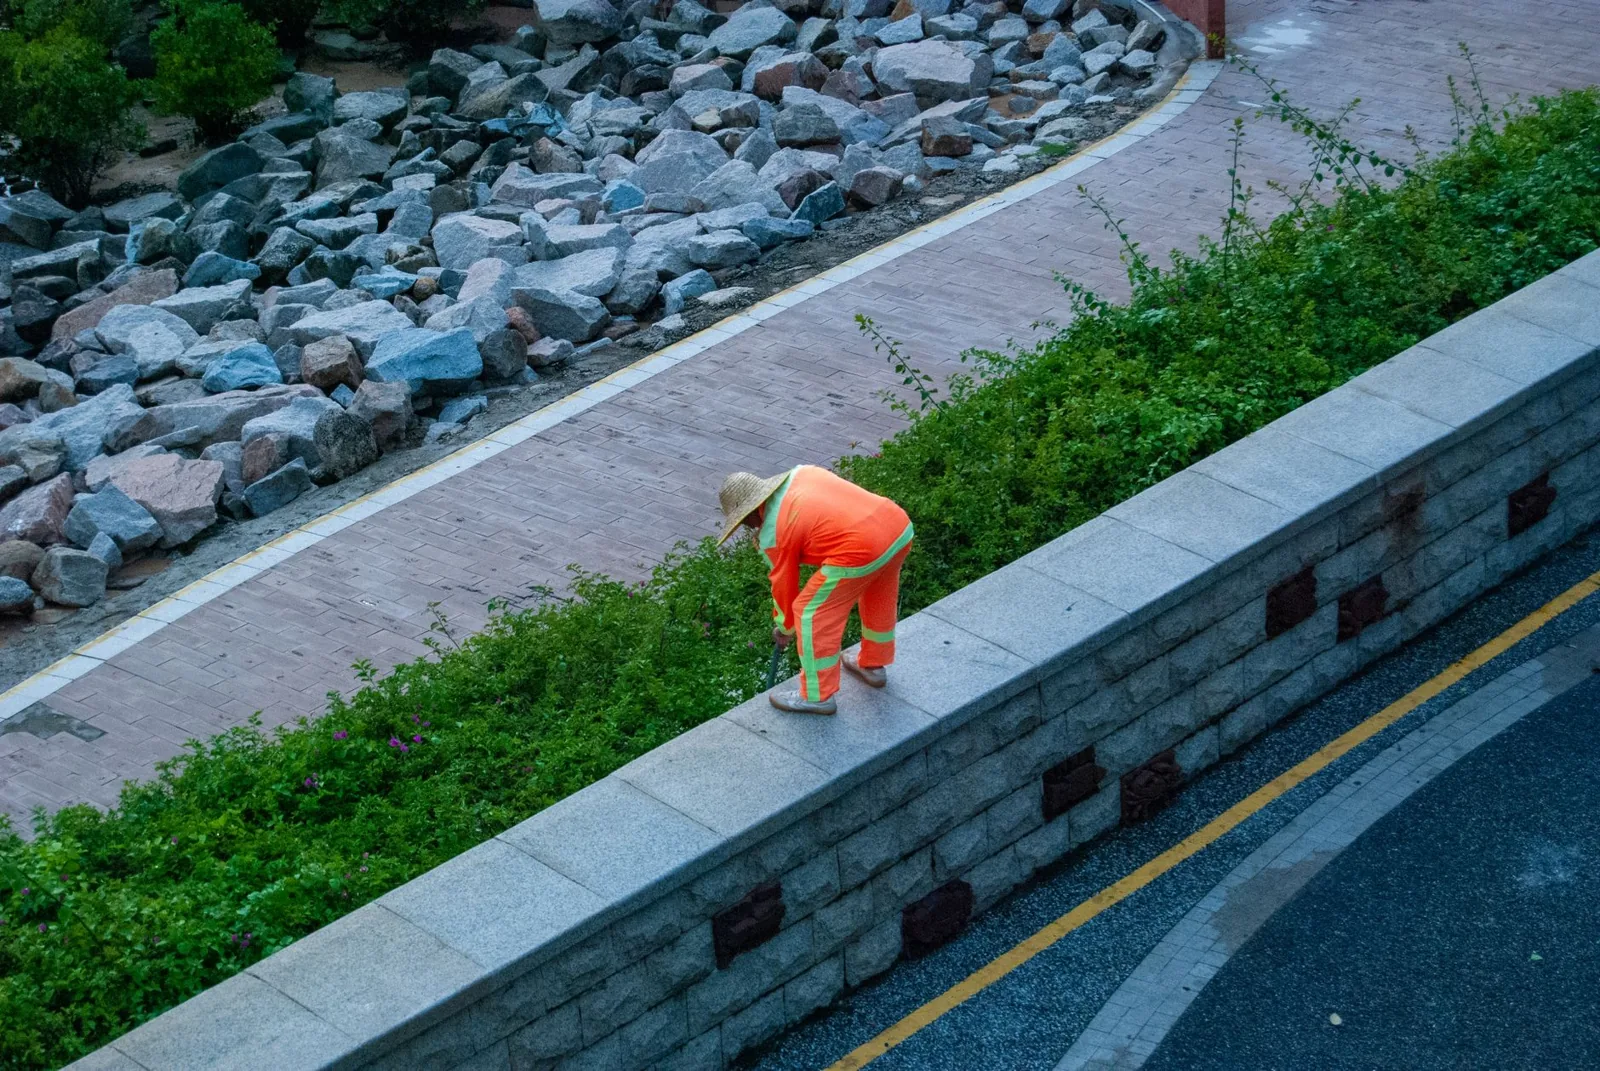
Photo by Da Na via Pexels
Segmental blocks (Versa-Lok, Allan Block, and big-box brands like Pavestone) are engineered to lock together and can step back slightly with each course, which leans the wall into the hill and helps it resist the push. They also handle curves well, which matters on sloped lots where straight lines rarely fit the terrain.
Timber is the cheapest option and fine for short, low-load walls, but treated wood rots over time, especially in the moist conditions behind a wall. Expect to rebuild a timber wall in a decade or two.
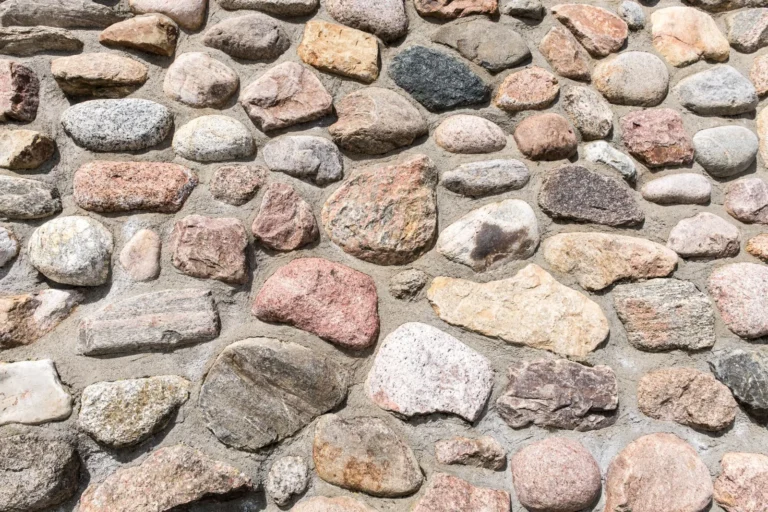
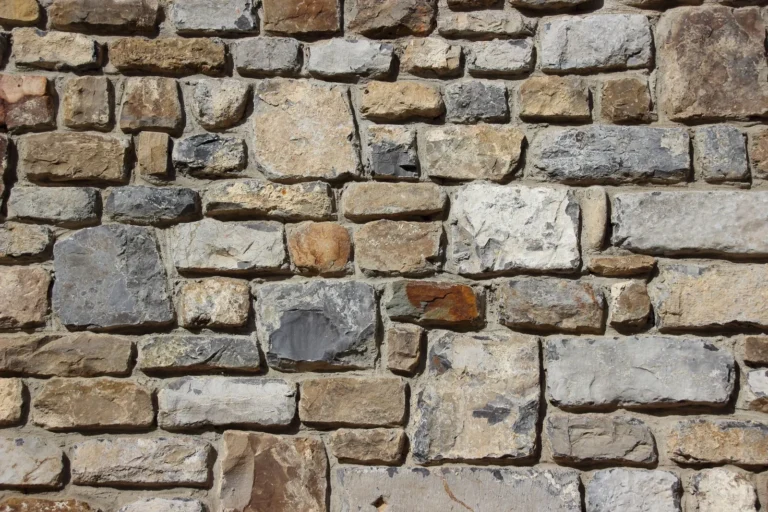
Natural stone and poured concrete are beautiful and long-lived, but both usually require professional installation and cost two to three times as much as block. If you want a full breakdown of what each option runs, see our guide to retaining wall cost per linear foot.
What You Need Before You Dig
Gather materials and tools before you start so you are not leaving an open trench exposed to rain for a weekend.
Tools
- Shovel and square-point spade
- 4-foot and 2-foot levels
- Dead-blow hammer or rubber mallet
- Hand tamper or plate compactor
- Tape measure, string line, and stakes
- Utility knife
- Circular saw with a masonry blade for cutting block
Materials
- Retaining wall block (calculate face square footage, add 5–10% for cuts and waste)
- ¾-inch angular crushed stone for the base and backfill
- 4-inch perforated drainage pipe with a filter sock
- Non-woven landscape fabric
- Paver base sand for leveling the first course
- Construction adhesive for the cap course
Before you dig, call 811 to have underground utilities marked. It is free, fast, and required by law in most places. Also check whether your local code requires a permit — many municipalities do for walls over three or four feet, and building departments often want an engineered design for walls over four feet or any wall supporting a surcharge.
Step-by-Step: How to Build a Retaining Wall on a Slope
The order here is non-negotiable. Most failures trace back to a skipped step at the bottom of the wall, not the top.
Step 1: Lay Out the Wall and Dig the Trench
Mark the wall’s path with stakes and a string line or marking paint. On a slope, you will typically step the wall — either by following the contour with a gradual curve, or by building in horizontal “steps” of equal height so the top of the wall stays roughly level while the base drops.
Excavate a trench that is about twice the width of the block and deep enough to bury the first course below grade. A good rule of thumb is to bury one-tenth of the wall’s finished height, with a six-inch minimum. A three-foot wall, then, gets about six inches of buried block plus the base below that.
Step 2: Build the Base
Pour in four to six inches of ¾-inch angular stone and compact it hard. Use a hand tamper for short walls or rent a plate compactor for anything longer than 20 feet. Check level in both directions; this is the last easy chance to correct a slope or dip. A thin layer of paver sand can fine-tune the surface, but the real leveling happens in the stone.
Step 3: Set the First Course
The first course is the foundation of everything above it. Set each block on the compacted base, check it with the 4-foot level front-to-back and side-to-side, and tap it into place with the dead-blow hammer. A block that is off by a quarter inch here will be off by an inch four courses up. Take your time on this row.
Step 4: Stack and Stagger
Stack subsequent courses so the vertical joints stagger by at least a quarter of a block length, just like brick. Most segmental blocks have a lip or pins that lock each course and set the backward lean automatically. Pull the string line tight at each course to keep the face straight and level.
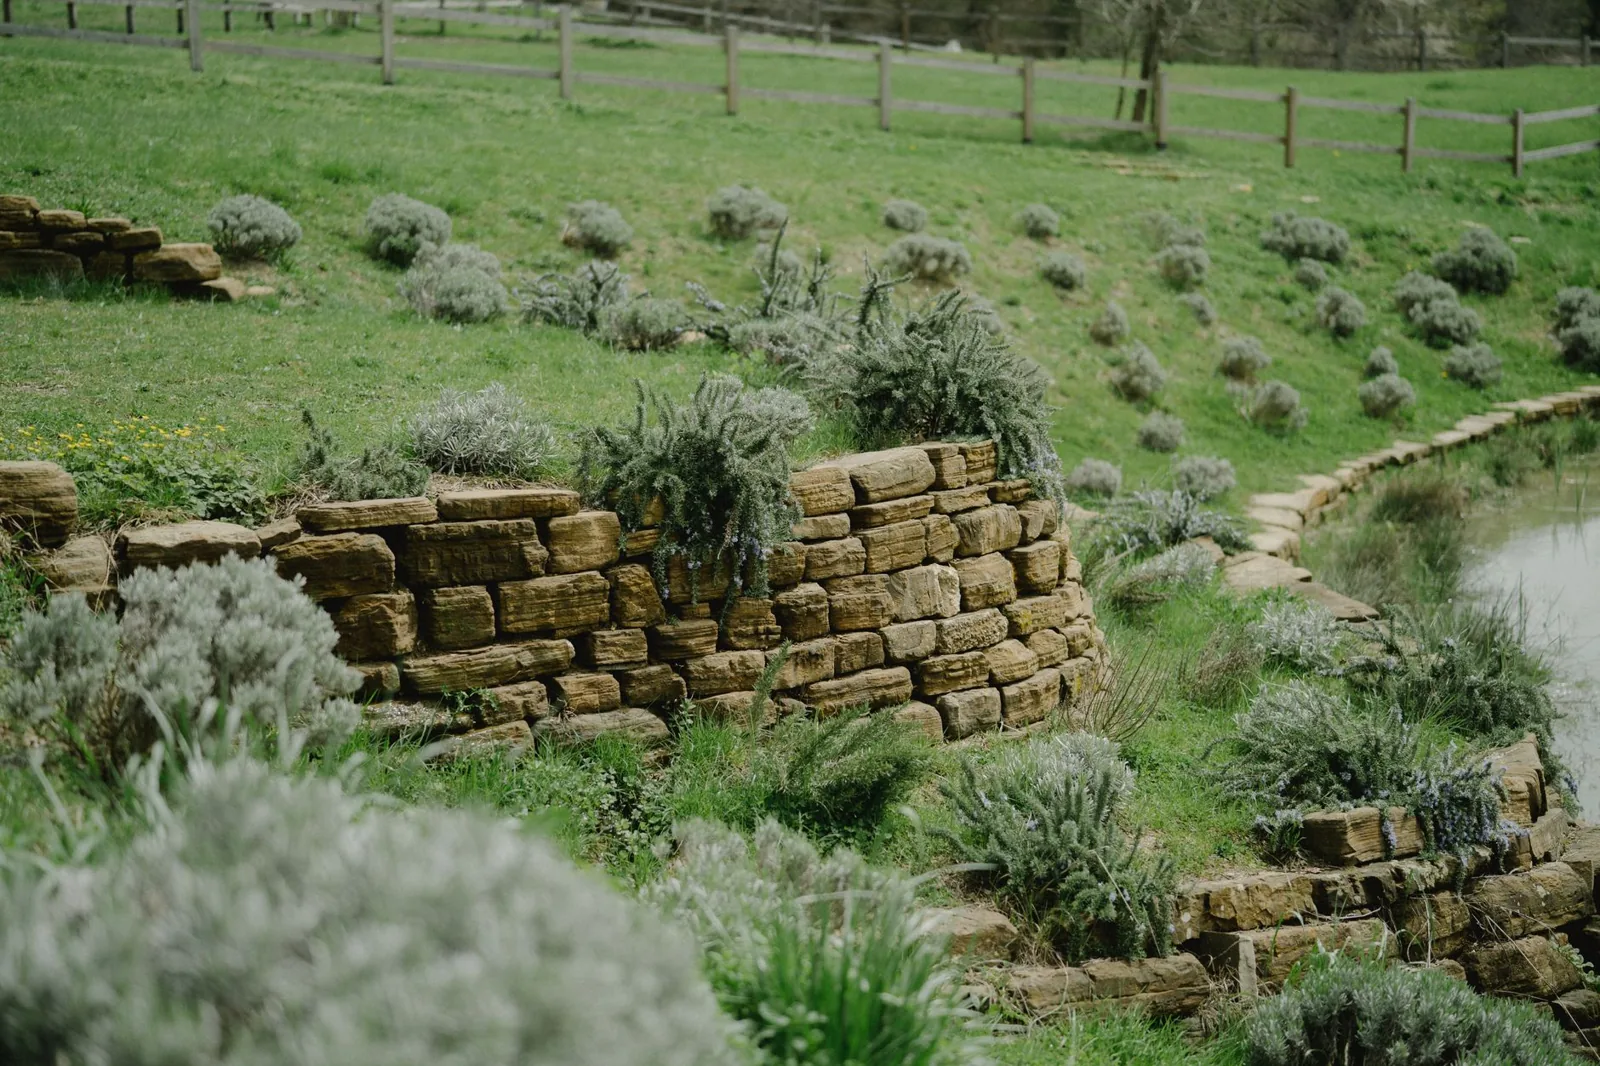
Photo by Anastasia Shuraeva via Pexels
Step 5: Install Drainage as You Backfill
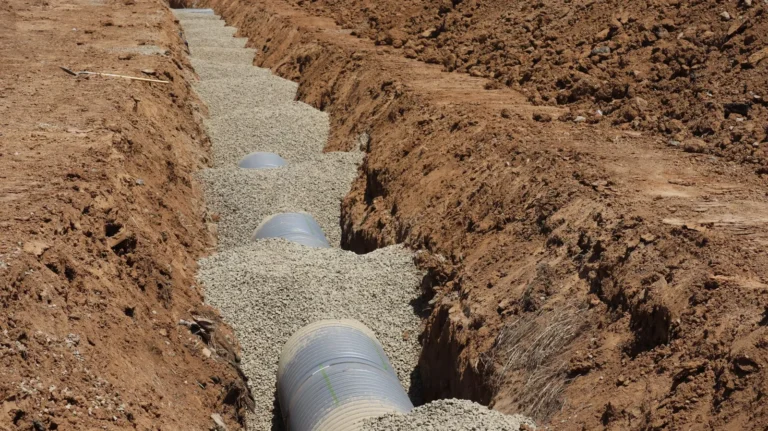
Do not bury a course until its drainage is in place. Behind the wall, lay non-woven landscape fabric against the cut soil, add a 12-inch-wide column of angular stone, and run a 4-inch perforated pipe at the base with a gentle slope toward a daylight outlet — an open end that lets water exit at the low end of the wall or into a drainage swale. Fold the fabric over the stone to keep soil from clogging it, then backfill with compacted soil in six-inch lifts. Compact each lift before adding the next.
Step 6: Cap the Wall
Finish with a cap course glued down with construction adhesive. Caps protect the top of the wall, hide any uneven block edges, and give the wall a finished look. Then regrade the top of the slope so surface water runs away from the wall rather than over it.
Drainage Is What Keeps a Slope Wall Standing
If you remember one thing from this article, make it this: a retaining wall without drainage is a dam, and a dam fails. Water is the number-one killer of sloped walls. It builds up behind the wall, saturates the soil, and pushes with a force that no three-foot block wall can resist for long.
A proper drainage system has three parts working together:
- A gravel column behind the wall, 12 inches deep and wide, giving water a fast path down to the pipe instead of letting it sit against the blocks.
- A perforated pipe at the base, wrapped in a filter sock, carrying the water out to daylight.
- Weep holes or open-bottom block, which let small amounts of trapped water escape through the face instead of building pressure.
For steep lots that collect a lot of runoff, the retaining wall’s drainage usually ties into a broader yard system. A French drain or a properly graded swale can intercept water before it ever reaches the wall, fixing the cause rather than the symptom.
How Much Does a Sloped Retaining Wall Cost?
The cost of building a retaining wall on a slope runs higher than the same wall on flat ground, mostly because of extra excavation, deeper bury, and more backfill and drainage material. Expect these real-world ranges for an installed wall in 2025:
- Segmental block: $15–$30 per square foot, or roughly $25–$50 per linear foot for a three-foot wall.
- Timber: $15–$25 per square foot installed.
- Natural stone: $30–$80 per square foot installed.
- Poured concrete: $40–$75 per square foot installed.
A typical 30-foot-long, three-foot-high segmental block wall — 90 square feet of face — lands between $1,800 and $3,500 installed, including excavation and drainage. Doing it yourself drops the labor cost, which is usually half to two-thirds of the bill, but adds a weekend or two of hard work and the cost of renting a plate compactor.
Steeper lots add cost two ways. You may need a taller wall or multiple terraced walls instead of one, which multiplies the face area. And walls over about four feet, or walls supporting a driveway or structure, usually need geogrid reinforcement and an engineered design, pushing the price well above the base range. For a full line-by-line breakdown, see retaining wall installation cost.
Mistakes That Send Slope Walls to an Early Grave
These are the errors that show up again and again in failed walls. Every one is avoidable.
- Skipping the buried first course. If the bottom of the wall sits on grade instead of below it, the wall can slide forward on the first good rain.
- No drainage pipe. Gravel alone is not enough on a slope; the water needs a pipe to get out, not just a place to collect.
- Using rounded gravel instead of angular stone. Rounded gravel does not compact and lets blocks shift.
- Backfilling with native clay. Clay holds water and expands when wet, pushing against the wall.
- Building higher than the block is rated for without reinforcement. Most standard blocks are only rated for three to four feet without geogrid or engineering.
- Leveling blocks by eye instead of with a level. On a slope, every row reads as “level enough” and ends up visibly wrong.
Frequently Asked Questions
Can I build a retaining wall on a slope myself?
Yes, for most walls up to about three feet high built with segmental block. The work is hard but not technical. Above three or four feet, or on a very steep grade, hire a pro or get an engineer’s input, since taller walls need geogrid reinforcement and often a permit.
What is the best material for a retaining wall on a slope?
Segmental concrete block is the best balance of strength, lifespan, and DIY feasibility for most residential slopes. Natural stone and poured concrete are stronger for tall or steep applications but cost significantly more and usually require a contractor.
How deep should the base of a retaining wall be on a slope?
Bury the first course about one-tenth of the wall’s finished height, with a six-inch minimum, on four to six inches of compacted angular stone. So a three-foot wall sits on six inches of compacted base with about six inches of block below grade.
Does a retaining wall on a slope need drainage?
Always. A perforated pipe at the base, a 12-inch gravel column behind the wall, and an outlet to daylight are the minimum. Without drainage, water pressure will eventually push the wall over or crack it, no matter how well it is stacked.
Do I need a permit to build a retaining wall on a slope?
It depends on your municipality. Many require a permit for walls over three or four feet, and some for any wall on a steep lot. Check with your local building department before you dig.
The Bottom Line
A retaining wall on a slope is a bigger job than the same wall on flat ground, but the fundamentals do not change: dig deep, build on a compacted base, level the first course perfectly, and never, ever skip the drainage. Get those four things right and a segmental block wall will hold a slope for longer than the mortgage on the house above it.
If you are unsure whether your grade calls for a DIY wall or an engineered one, the cheapest insurance is a conversation with a local contractor or engineer before the first shovel goes in. To understand what the whole project will run, start with how much a retaining wall costs per linear foot. For a deeper read on the construction side, Family Handyman’s retaining wall guide walks through the same steps with detailed photos, and This Old House covers retaining wall basics if you want a second opinion on materials.